
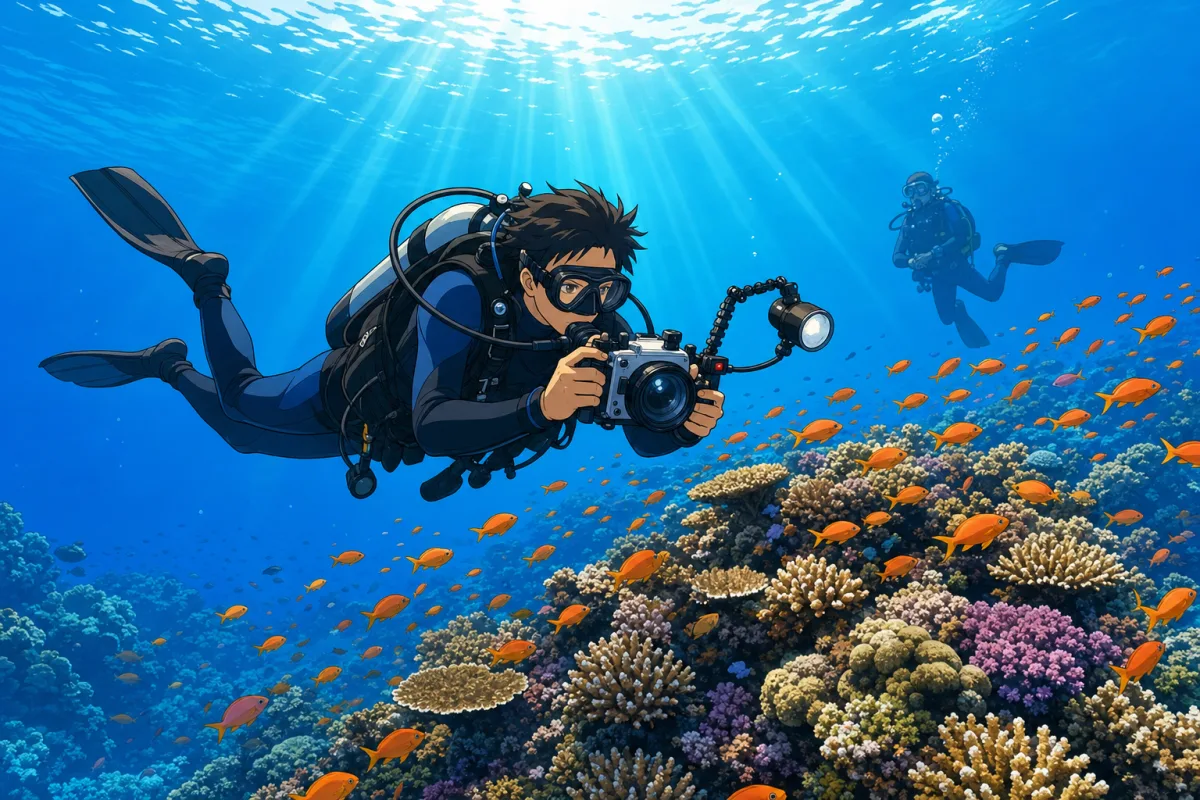
Underwater photography in Bali might be the most forgiving apprenticeship the hobby offers anywhere on earth. The island hands you every genre on consecutive days: a wreck with thirty years of coral growth starting five metres down, black-sand slopes crawling with creatures the size of a rice grain, manta rays that fly circles around you for a full dive, and walls of soft coral lit by equatorial sun in 30-metre visibility. That density is why photographers who learn here progress absurdly fast, and why Bali diving trips see more cameras per boat every season. This guide is the full curriculum: what camera to bring (or not bring), the settings that actually matter underwater, which sites suit which genre, the etiquette that keeps reefs and models happy, and the unglamorous habits, buoyancy first, O-rings always, that separate keepers from blue blur.
A promise before we start: this is not a gear-catalogue article. The best underwater camera is the one you already own, taken to the right site, held steady by a diver whose buoyancy is boring. Everything else is refinement, and refinement is what the next four thousand words are for: the classroom argument, the gear triage, the settings recipes, the site-by-genre map, five compositions that always work, the editing rescue sequence, the etiquette that keeps guides on your side, and the humidity-proof housing ritual that keeps salt water on the correct side of the glass.
Why Bali is the perfect classroom
Three ingredients make a great learning destination, and Bali holds all of them at once. First, warm, calm, shallow sites: the Tulamben and Amed coast offers shore entries onto photogenic reef at snorkel depth, so you can burn a hundred practice frames without a computer beeping at you. Second, subject density across genres: nowhere else do a world-class wreck, world-class muck and world-class big animals sit within a two-hour drive, a range our dive site overview maps in full. Third, conditions you can schedule around: the Bali diving conditions guide explains the seasonal machinery, but the photographic translation is simple, dry-season water for wide-angle clarity, plankton-season water for the animals that make wide-angle worthwhile.
There is also the humbler advantage: repetition is cheap. Two-tank day trips run daily, shore sites allow third and fourth dives on your own schedule, and the same subjects are reliably home, the anemonefish that hosts in the same bommie all year is a patient tutor. Photography rewards reps more than gear, and Bali sells reps cheaper than anywhere in the developed dive world; the full arithmetic is in our cost guide.
Buoyancy: the lens nobody sells you
Every underwater photo you have admired was taken by a diver hovering motionless, usually inches above something fragile, often in mild current. That skill is the actual prerequisite, and it is why we tell guests, without diplomacy, that the camera should stay in the bag until their trim is automatic. A photographer who is still finning to hold position scares subjects, silts scenes, breaks coral and burns air; a photographer parked in stillness gets the shot and a longer dive in the bargain.
The good news: it is trainable in a weekend. The Peak Performance Buoyancy specialty exists for exactly this, and pairing it with the camera's first outing is the highest-return combination we teach. New divers should log comfort first, our first-timer guide sets expectations, and anyone returning after years off should take the refresher before adding task-loading. The rule of thumb across the industry is simple and correct: be a diver first, a photographer second, and the order shows in every frame.
What about GoPros and action cameras?
The action camera deserves its own honest paragraph, because half the boats in Bali carry one. For video in bright shallows, they are genuinely excellent: wide, sharp, stabilised, and indestructible in exactly the conditions, surge at Manta Point, boat ladders, sandy beach entries, that terrify housing owners. Their weaknesses are the flip side of the same design: a tiny sensor that struggles below 15 metres or after 3 pm, a fixed ultra-wide lens that makes macro impossible without clip-on diopters, and auto-everything exposure that paints deep water a uniform teal. The workable recipe: add a red filter for depth, lock the white balance if your model allows it, shoot video and pull frames rather than chasing stills, and stay above the light. As a second camera for the manta dive's video while your compact handles stills, an action cam earns its slot in the packing cube; as an only camera for a photography-focused trip, it will frustrate you by day three. Divers deciding between the formats before a trip can treat it as a genre question: video-first, action cam; stills-first, compact in a housing.
Choosing your weapon: phone, compact, or rig
Phone in a housing (from ~$100)
Modern phone housings turned the entry barrier to rubble, and for sunlit reef scenes above 10 metres a phone shoots genuinely shareable results. Strengths: zero learning curve, instant editing, the camera you already master. Limits: small sensor in low light, no real strobe ecosystem, and housings demand the same O-ring discipline as any other (more on that religion below). Verdict: perfect for snorkellers, try-divers and the Sanur lagoon, and a fine first year for a new diver.
Compact camera in a housing (from ~$500 used)
The sweet spot for most travelling divers, and what we recommend to anyone asking. A 1-inch-sensor compact in a proper housing, with one small strobe and a wet macro lens, covers ninety percent of Bali: nudibranchs at Seraya, the anemone gardens of Menjangan, even mantas if you ride the ambient light. RAW files, manual mode and a filter thread are the three specs worth insisting on.
Mirrorless or DSLR rig (from ~$3,000 to the moon)
Interchangeable lenses, dual strobes, ports and arms: this is where image quality goes professional, and where weight, cost and pre-dive assembly time triple. Bring one only if photography is a primary purpose of the trip, and note the airline maths in our packing list, a full rig eats most of a carry-on allowance. The consolation: Bali's shore diving is a rig-owner's paradise, because you can walk your investment into flat water instead of passing it down a rolling boat ladder.
Settings that survive contact with the ocean
Underwater optics reduce to two problems: water eats light, and water eats colour, red first, then orange, then yellow, until everything at depth is blue soup. Every technique below is a counterattack on one or both.
Get close, then closer. The single most improving habit in the sport. Water between lens and subject steals sharpness, contrast and colour; a metre of it is a fog you cannot edit away. If your frame does not improve, the answer is almost never zoom, it is one calm fin-kick of patience.
Shoot RAW and white-balance later (or custom-balance often). JPEG bakes the blue in; RAW lets you resurrect colour on the laptop. Ambient-light shooters at depth should custom white-balance every few metres of depth change, a grey slate or even the sand works.
Master one exposure recipe per genre. For sunlit reef wide-angle: ISO 200-400, f/8, shutter 1/125-1/250, strobes (if any) at half power, adjust from there. For macro: ISO 100-200, f/11-f/16 for depth of field, shutter at your sync speed, strobe close and diffused. These are starting points, not gospel, but starting points beat menu-diving at 20 metres with a nudibranch waiting.
Angle up, and find the light. Shots taken downward flatten into rubble; shots angled slightly upward separate the subject against blue water and catch the sun. The classic Bali frame, coral bommie, anthias, sunball, is a composition you can practise on every dive at Padang Bai's Blue Lagoon until it is reflex.
Respect the shutter floor. Motion blur masquerades as bad focus. Handheld underwater, keep shutter at or above 1/125 for still subjects, 1/250 for fish, faster for anything that flies, and let ISO rise before you let shutter fall; modern sensors forgive grain far more than smear.
The genre map: which site for which shot
This is the question every photographer should ask before booking a single dive: what kind of photography does each Bali site actually serve? The quick-reference table first, then the detail.
| Dive site | Photography type | Signature subjects | Lens / setup |
|---|---|---|---|
| Tulamben (USAT Liberty) | Wide-angle first, macro close second | Wreck scenics, bumphead parrotfish, jacks; critters on the surrounding sand | Wide or fisheye at dawn; switch to macro for afternoon slope dives |
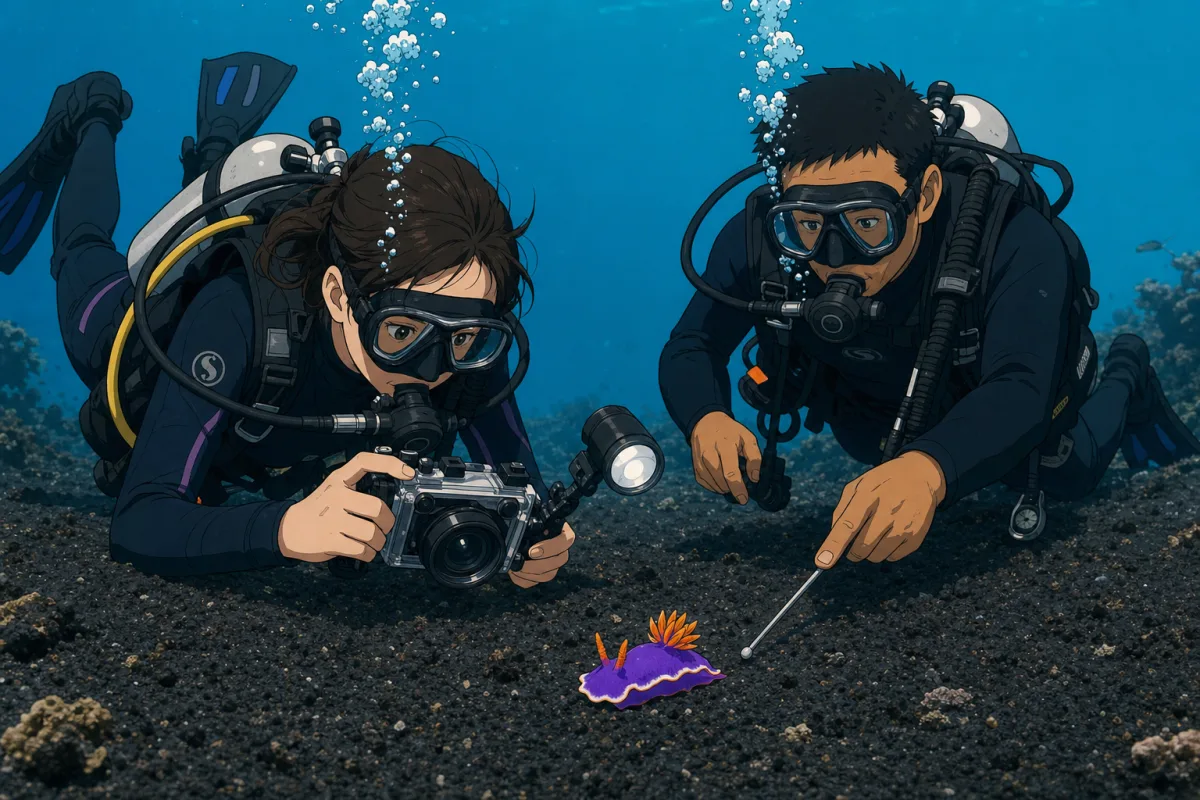
| Seraya / Tulamben slopes | Macro and muck, almost exclusively | Nudibranchs, frogfish, harlequin shrimp, pygmy seahorses, rhinopias | Macro lens or wet diopter, single diffused strobe |
| Amed | Macro plus easy reef wide-angle | Critters, garden eels, Jemeluk's coral bommies and pyramids | Compact with both wet lenses covers a full day |
| Padang Bai (Blue Lagoon, Jetty) | Mixed: reef scenes and macro | Anemonefish, leaf scorpionfish, sharks in the blue, jetty critters | The practice ground, bring whatever needs drilling |
| Gili Mimpang / Tepekong | Wide-angle action | White-tip sharks, schooling fish, dramatic topography, seasonal mola | Wide lens, faster shutter for the current-swept schools |
| Nusa Penida north (SD, Ped, Sental) | Wide-angle reef and drift scenics | Endless hard-coral terraces, turtles, passing pelagics | Wide lens, ambient light, drift discipline |
| Manta Point / Manta Bay | Wide-angle big animal, strictly | Reef mantas, up to squadrons at cleaning stations | Widest lens you own, ambient light, low and still |
| Crystal Bay | Wide-angle (seasonal big animal) | Mola mola July-October, clouds of glassfish, clear-water reef | Wide lens; no strobes at mola stations, house rules |
| Menjangan Island | Wide-angle walls, turtle portraits | Gorgonian fans on 40 m-visibility walls, hawksbills | Wide lens; the easiest wide-angle classroom in Bali |
| Nusa Lembongan | Reef wide-angle, turtles | Mangrove-side coral gardens, turtles, drift scenics | Wide lens or action cam video |
| Sanur reef | Phone and snorkel practice | Seagrass life, reef fish in the shallows | Phone housing or compact, natural light |
The pattern worth internalising: the east coast (Tulamben, Seraya, Amed, Padang Bai) is where macro lives and where wide-angle is learned gently, with the Liberty wreck as its one world-class wide-angle exception; the Nusa Penida channel is wide-angle big-animal territory where a macro lens is a wasted dive; and the northwest (Menjangan) is wide-angle walls in the island's clearest water. Plan lens choices per day, not per trip, and the sequencing below falls out naturally.
Wreck and reef wide-angle: Tulamben's USAT Liberty
The Liberty wreck is the most photographed object in Indonesian waters for good reason: shallow, coral-upholstered, permanently escorted by jacks and bumphead parrotfish, and lit by morning sun that pours through the superstructure. Dawn dives beat the crowds and catch the bumpheads; the stern at 25 metres rewards a second, deeper visit. Wide lens, sun behind the wreck's silhouette, diver with a torch for scale, the postcard writes itself.
Macro and muck: Seraya, Amed, Padang Bai's bays
Bali's muck diving is world-championship grade: harlequin shrimp, frogfish, mimic octopus, rhinopias and a nudibranch catalogue that outruns any ID book. This is compact-camera heaven, subjects sit still, depth is modest, and a single strobe with a wet diopter does professional work. Hire a spotter guide; their eyes are the best lens upgrade money buys, and they know which black-sand patch hosted the pontohi pygmy seahorse this week.
Big animals: Nusa Penida's channel
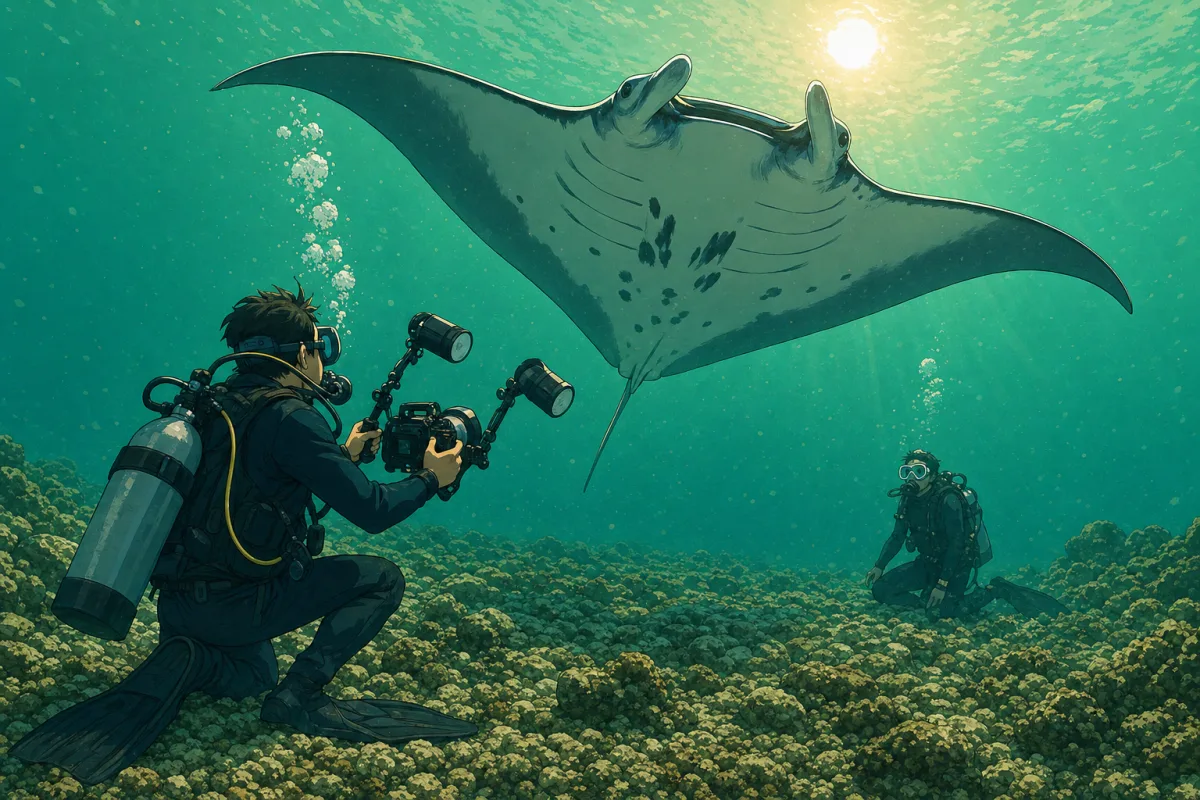
Manta Point is the wide-angle graduation exam: huge subjects, surge, plankton-green water and no second chances at a pass that lasts four seconds. Go low, go still, let the manta come to you (chasing guarantees a tail-only frame and an unhappy guide), shoot slightly upward, and accept ambient light, strobes mostly illuminate the plankton. The mola season adds the bucket-list frame between July and October; treat cleaning stations like church, camera discipline included, and read the Penida guide for the current briefing you will absolutely receive.
Walls, turtles and gardens: Menjangan and Lembongan
Menjangan's walls hang gorgonians into 40-metre visibility, the easiest wide-angle conditions in Bali, and the turtles of the northwest and Lembongan pose better than most dive buddies. Night dives, covered in our night diving guide, unlock Spanish dancers and hunting morays for the strobe-equipped.
Composition underwater: five frames that always work
Underwater composition is land photography with the tripod removed and the studio flooded, but a handful of frames succeed so reliably they belong in every beginner's muscle memory.
The upward hero. Subject in the lower third, blue water and sun behind it, shot from slightly below. Works on a nudibranch, works on a manta, works on your dive buddy. This one habit, descending a hand-width below your subject's eyeline, upgrades more portfolios than any purchase.
Face and eyes, always the eyes. Fish portraits obey the same law as human ones: the eye must be sharp and ideally catching light. Wait for the head-on or three-quarter angle; a fish photographed swimming away is a fish that got away.
The diver for scale. Wrecks and walls read as abstract until a silhouetted diver with a torch gives the brain a ruler. Brief your buddy before the dive, position them mid-water, torch angled across the scene, and the Liberty's bow becomes the epic it actually is.
Negative space. Water is the cleanest background in photography; use it. One subject, empty blue, nothing else. The discipline is subtraction: fin back, wait for the school to clear, resist the urge to include everything you can see.
The behaviour frame. A clownfish is a snapshot; a clownfish aerating its eggs is a photograph. Hovering patiently near a cleaning station, an anemone or a mantis-shrimp burrow until something happens is the highest-percentage strategy in the sport, and it is precisely what good buoyancy buys you time to do.
Editing the blue away: the fifteen-minute workflow
Underwater RAW files look disheartening on first import, flat, cyan, murky, and beginners routinely conclude the dive was photographically wasted when it was one slider away from glory. The rescue sequence, in any editor from Lightroom to free Snapseed: first, white balance, pull the temperature toward warm and tint toward magenta until skin, sand or white coral looks honest; this single move resurrects eighty percent of the colour the water stole. Second, dehaze or contrast, water flattens everything, so both tools work harder here than on land. Third, a gentle vibrance lift (not saturation, which turns reefs radioactive). Fourth, crop for the composition you almost got, water makes precise framing genuinely hard, and there is no shame in a ten percent rescue crop. Fifth, denoise if the ISO climbed. Total honest time per keeper: three minutes. Batch the recipe across a dive's similar frames and the whole day edits inside a sunset beer. What editing cannot do is add sharpness lost to distance or motion, which is why the get-close and shutter-floor rules above are non-negotiable at capture time.
Seven beginner mistakes (all fixable this week)
Shooting everything, keeping nothing. Two hundred frames of everything at ten metres beats nothing, but twenty deliberate frames of three subjects beats both. Pick targets for each dive; the discipline compounds.
Zooming instead of approaching. Optical zoom underwater magnifies the water's fog along with the subject. Zoom exists for cropping shy subjects, not replacing patience.
Flash-on-auto in blue water. Built-in flash lights the particles in front of the lens, producing the snowstorm effect called backscatter. Ambient plus RAW beats bad flash every time; real strobes sit off-axis on arms precisely to throw shadow on the particles.
Ignoring the dive. Gas checks, buddy contact, depth, deco, none of it pauses for a frogfish. The photographers who last decades are the ones whose buddies never notice a difference; the hand signals guide includes the camera vocabulary that keeps pairs synchronised.
New gear on the trip's best dive. Never debut a housing at Manta Point. First dives with any new rig belong on an easy reef, where fumbling costs nothing.
Skipping the logbook. Settings, site, what worked: two lines per dive. Photographic progress underwater is bottlenecked by feedback loops, and the logbook is the loop.
Comparing dive one to Instagram. The frames flooding your feed are the survivors of ten-thousand-frame seasons shot on rigs that cost like motorcycles. Compare this trip's photos to last trip's photos, no other comparison is honest, and in Bali the improvement curve is steep enough to flatter quickly.
Photographer's etiquette: the reef is not a studio
Underwater photography has a reputation problem, the diver splayed across coral chasing a clownfish, and every operator has watched a camera turn a good diver into a menace. The rules are not complicated. Nothing is touched, moved, baited or "repositioned"; a subject that hides has ended the session, full stop. Fins stay off the bottom, which is a buoyancy issue wearing an ethics costume. Muck sticks steady a photographer on dead sand only. Flash is rationed on stressed or nocturnal animals, most guides run three-strobe-shots-and-move-on for seahorses and octopus, and molas get no strobes at all. And the queue is sacred: one photographer per subject, thirty seconds, rotate. Divers who shoot this way get shown the good stuff; the reef-wreckers mysteriously see fewer pygmy seahorses. Our safety guide's deeper point applies here too: task-loading erodes awareness, so when the camera starts costing you buddy contact or gas checks, holster it.
Camera care in the tropics: the O-ring religion
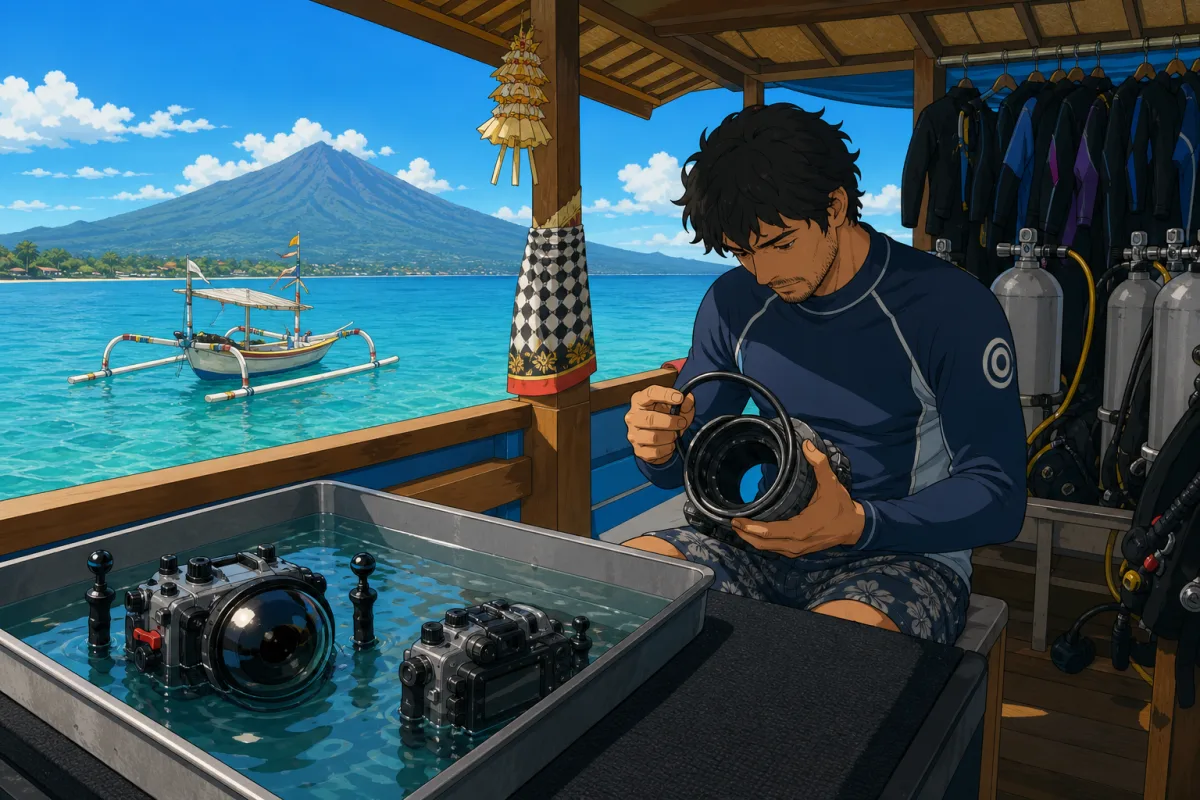
Bali will test your housing discipline with heat, sand, salt and boat bustle. The liturgy, learned the hard way by every flooded photographer: inspect and lightly grease the main O-ring away from sand, in your room, not on the beach; close the housing indoors with air-conditioning dryness if you can; vacuum-test if your housing offers it. On the boat, keep the rig shaded and in the rinse tank between dives, never sitting in the sun cooking its seals. After the last dive, soak long, work every button, dry with the housing open. Bring spares Bali cannot reliably sell you outside Denpasar: O-rings, grease, desiccants, a spare battery and double the memory cards you think plausible. Humidity fogs ports; a silica sachet in the housing is the cheapest insurance in photography.
A one-week photo itinerary that builds skills in order
Genres stack best from calm to demanding, which conveniently matches Bali's geography and the split-stay logic of our where-to-stay guide. Days one and two from Sanur: Padang Bai's easy bays for buoyancy-with-camera and reef basics, custom white balance drills, the upward angle. Days three and four in Tulamben: Liberty wide-angle at dawn, muck-and-macro afternoons at Seraya, night dive if energy allows. Day five and six: back through Sanur for the Penida channel, mantas and, in season, molas, with your buoyancy now good enough to hold the low-and-still position that big-animal frames demand. Day seven: no diving (the no-fly interval), which is precisely the editing day the week's RAW files need. Guests following this arc routinely produce a portfolio by Friday that embarrasses their first Monday frames, the Bali learning curve is that steep when the sites are sequenced right.
Courses, guides and when to invest in either
Two purchases outperform any lens upgrade. The first is training: the buoyancy specialty already mentioned, and for committed shooters the PADI Digital Underwater Photographer specialty, which compresses the settings-and-lighting curriculum into two dives with an instructor watching your histogram. An Advanced Open Water certification quietly matters too, it unlocks the depth range where the channel's big-animal photography happens. The second purchase is a private guide-spotter for macro days: their subject knowledge multiplies keepers per dive by a factor no equipment can match, and they handle the navigation and timing brain-load while you compose. Both are bookable through our course and dive centre pages, and both cost less than the port you were about to buy.
The bottom line
Bali compresses an underwater photographer's first five years into a fortnight: every genre, forgiving conditions, cheap repetition, and subjects that keep office hours. Start with the camera you own and buoyancy you have drilled, learn one exposure recipe per genre, get closer than feels polite, and treat O-rings as theology. Sequence the week from calm bays to channel giants and let the island do the teaching. And when the manta finally banks over your lens at Manta Point, low, still, angled into the sun, you will discover the paradox every underwater shooter knows: the best frames come from the dives where you almost forgot you were holding a camera. Bring the rig; we will bring the reef, the boat schedule and the guide who knows where the frogfish moved.
Frequently Asked Questions
Exceptional, and arguably the best place in the world to learn. Within a two-hour drive you get wreck wide-angle (USAT Liberty), world-class macro and muck (Seraya, Amed), big animals (mantas and seasonal mola mola at Nusa Penida) and easy walls (Menjangan), mostly in warm, calm, shallow water with daily repetition affordable enough to practise properly.
The one you already own, in a proper housing. Phone housings handle sunlit shallows; a 1-inch-sensor compact with one strobe and a wet macro lens covers ninety percent of Bali's photography and is our standard recommendation; full mirrorless rigs make sense only if photography is a primary trip purpose. Insist on RAW capture and manual exposure whatever you carry.
The black-sand slopes of the Tulamben-Amed coast, Seraya Secrets above all, plus Padang Bai's bays. Expect nudibranchs, frogfish, harlequin shrimp, ghost pipefish and seasonal rhinopias at modest depths with no current. A local spotter-guide is the single best investment; they know which patch of sand hosts which celebrity critter this week.
Go low near the rubble, stay completely still, and let the manta's curiosity bring it to you; chasing produces tail shots and shortens everyone's encounter. Shoot slightly upward with ambient light (strobes mostly light the plankton), keep shutter at 1/250 or faster, and accept the green water as atmosphere. Four-second passes reward divers who were already in position.
Two starting recipes cover most dives. Sunlit wide-angle: ISO 200-400, f/8, 1/125-1/250s. Macro with strobe: ISO 100-200, f/11-f/16, shutter at sync speed, diffused strobe close to the subject. Always shoot RAW, custom white-balance when relying on ambient light, get as close as etiquette allows, and angle slightly upward. Adjust from these baselines rather than menu-diving at depth.
Not to start. Above 10 metres in Bali's clear water, ambient light plus RAW white-balancing produces excellent reef shots. Strobes become transformative for macro (restoring colour and adding depth-of-field via smaller apertures) and for night dives. Big-animal encounters at Manta Point are usually better in ambient light anyway, since strobes illuminate the plankton between you and the manta.
Yes. Sanur's lagoon and the island's snorkelling sites (Menjangan's shallows, Lembongan's reefs, even Manta Bay from the surface) all photograph well with a phone housing or action camera. A try dive with an instructor handling your buoyancy is the next step, though we recommend leaving cameras behind on a first dive and adding them once basic comfort is automatic.
O-ring discipline: inspect and lightly grease the main seal indoors away from sand, close the housing in a dry air-conditioned room, use the vacuum test if your housing has one, keep the rig shaded and in the rinse tank between dives, and soak thoroughly after the last dive. Pack spare O-rings, grease and silica sachets, reliable spares are hard to buy in Bali outside Denpasar.
Open Water covers the macro coast and most reef photography. Advanced Open Water unlocks the 18-30 m range where the Penida channel's big-animal encounters happen, and the Peak Performance Buoyancy specialty is the highest-return training any photographer can take. The PADI Digital Underwater Photographer specialty adds a structured two-dive settings-and-lighting curriculum.
Depends on the genre. April-June combines dry-season visibility (20-40 m) with calm seas, ideal for wide-angle and wrecks. July-October trades some clarity for the mola mola season and thicker manta action, plankton-rich water is exactly why the big animals show up. Macro is world-class year-round, making the wet season a legitimate photography trip too.